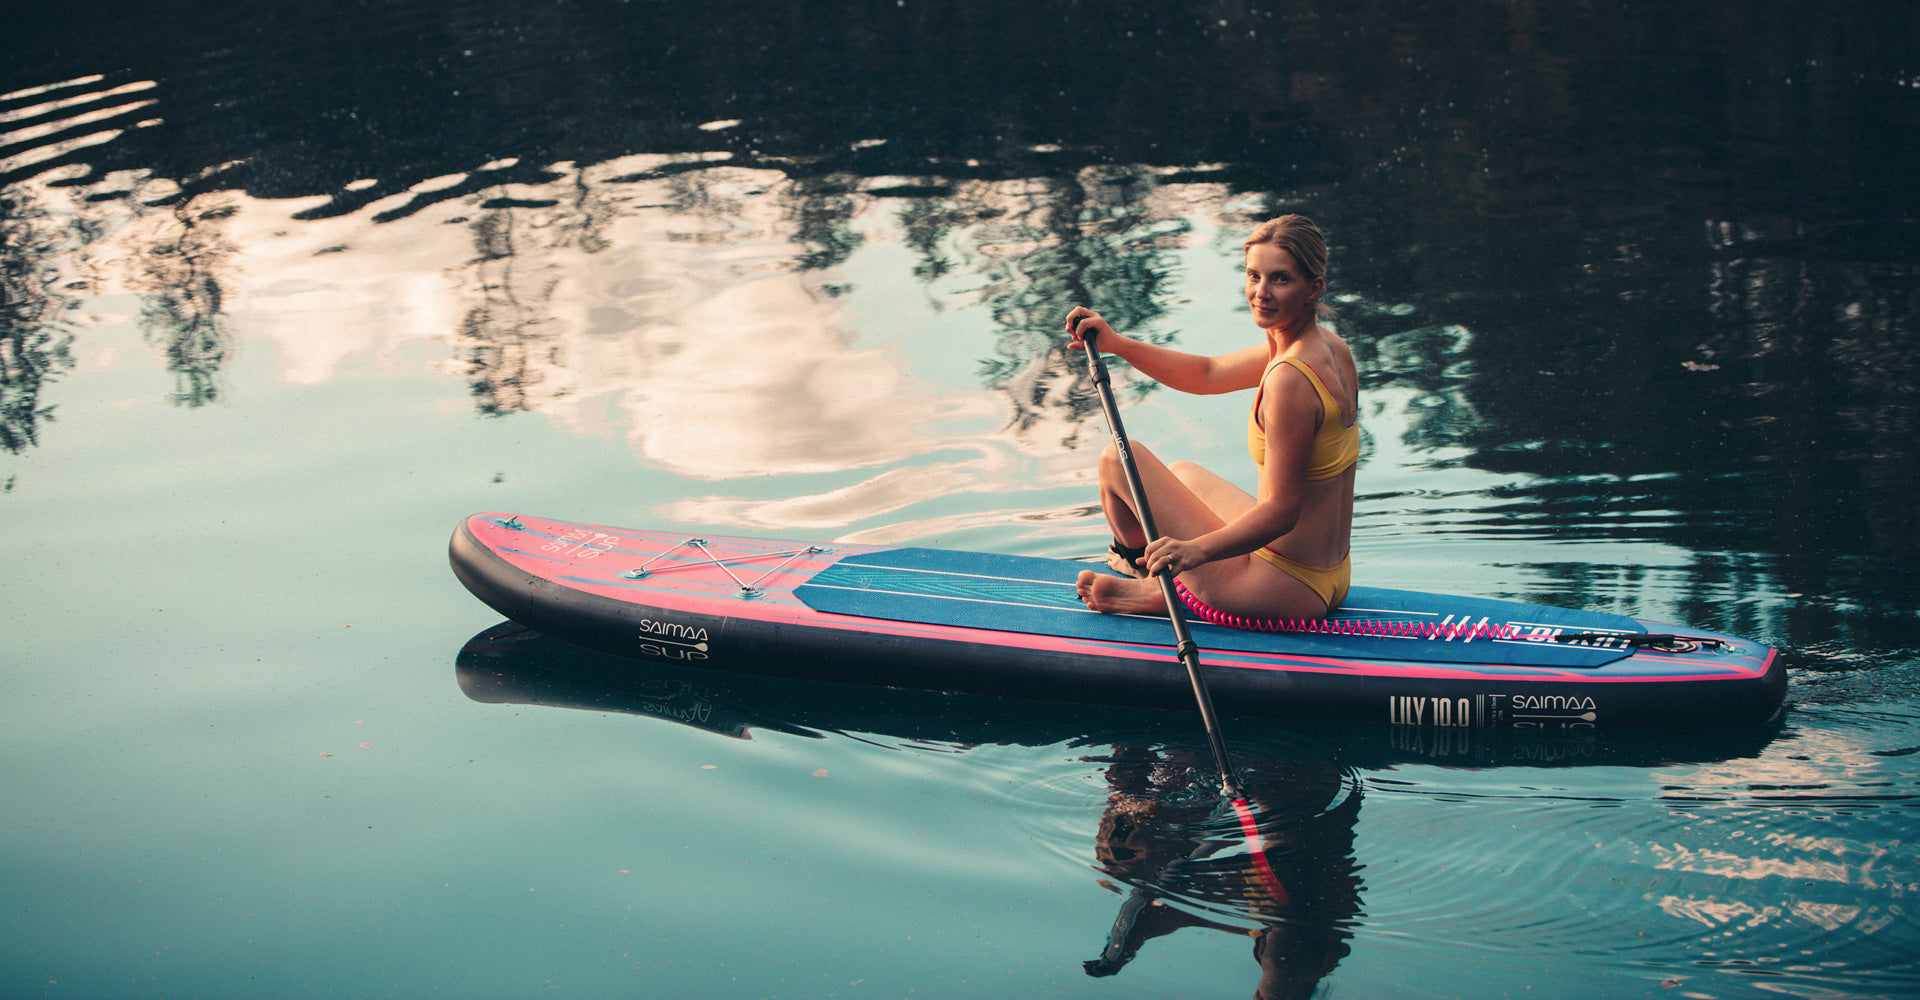
SUP-laudan tyhjennys
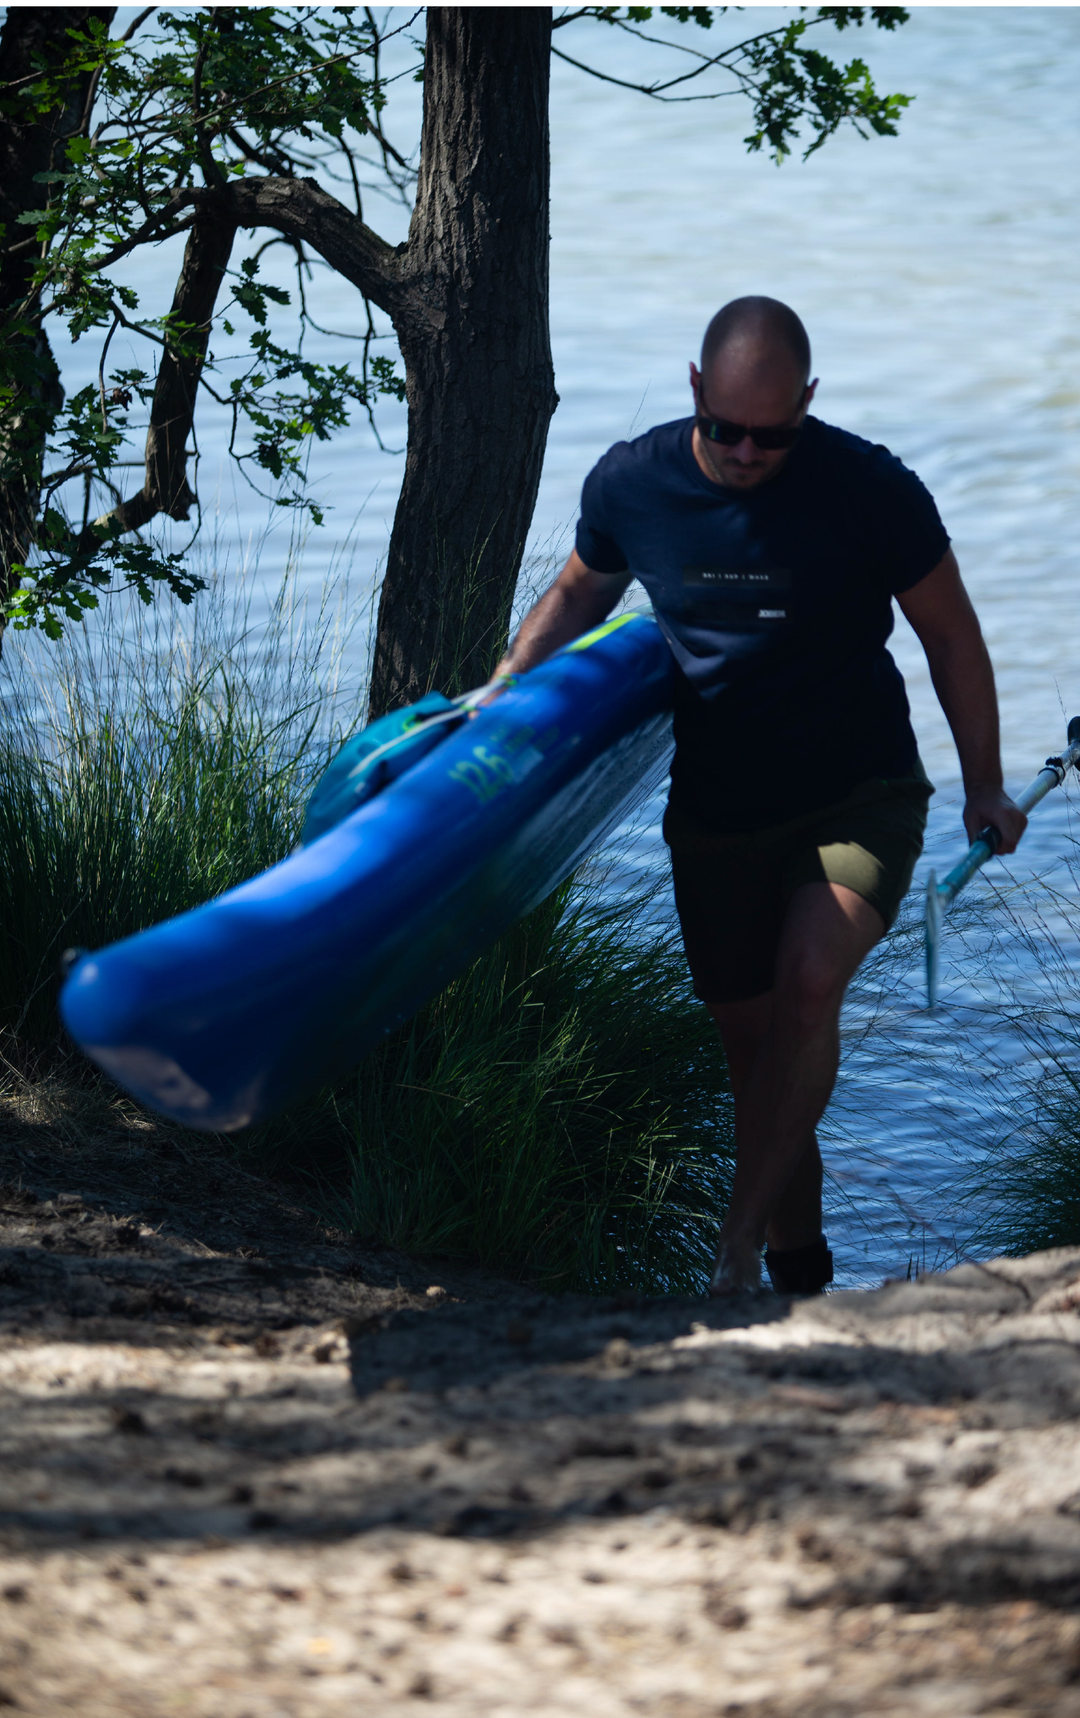
Nosta lauta maalle ja irroita evä. Kuivaa lauta tai jätä se kuivumaan (jos aikomuksesi on säilyttää lautaa repussa pitkään).
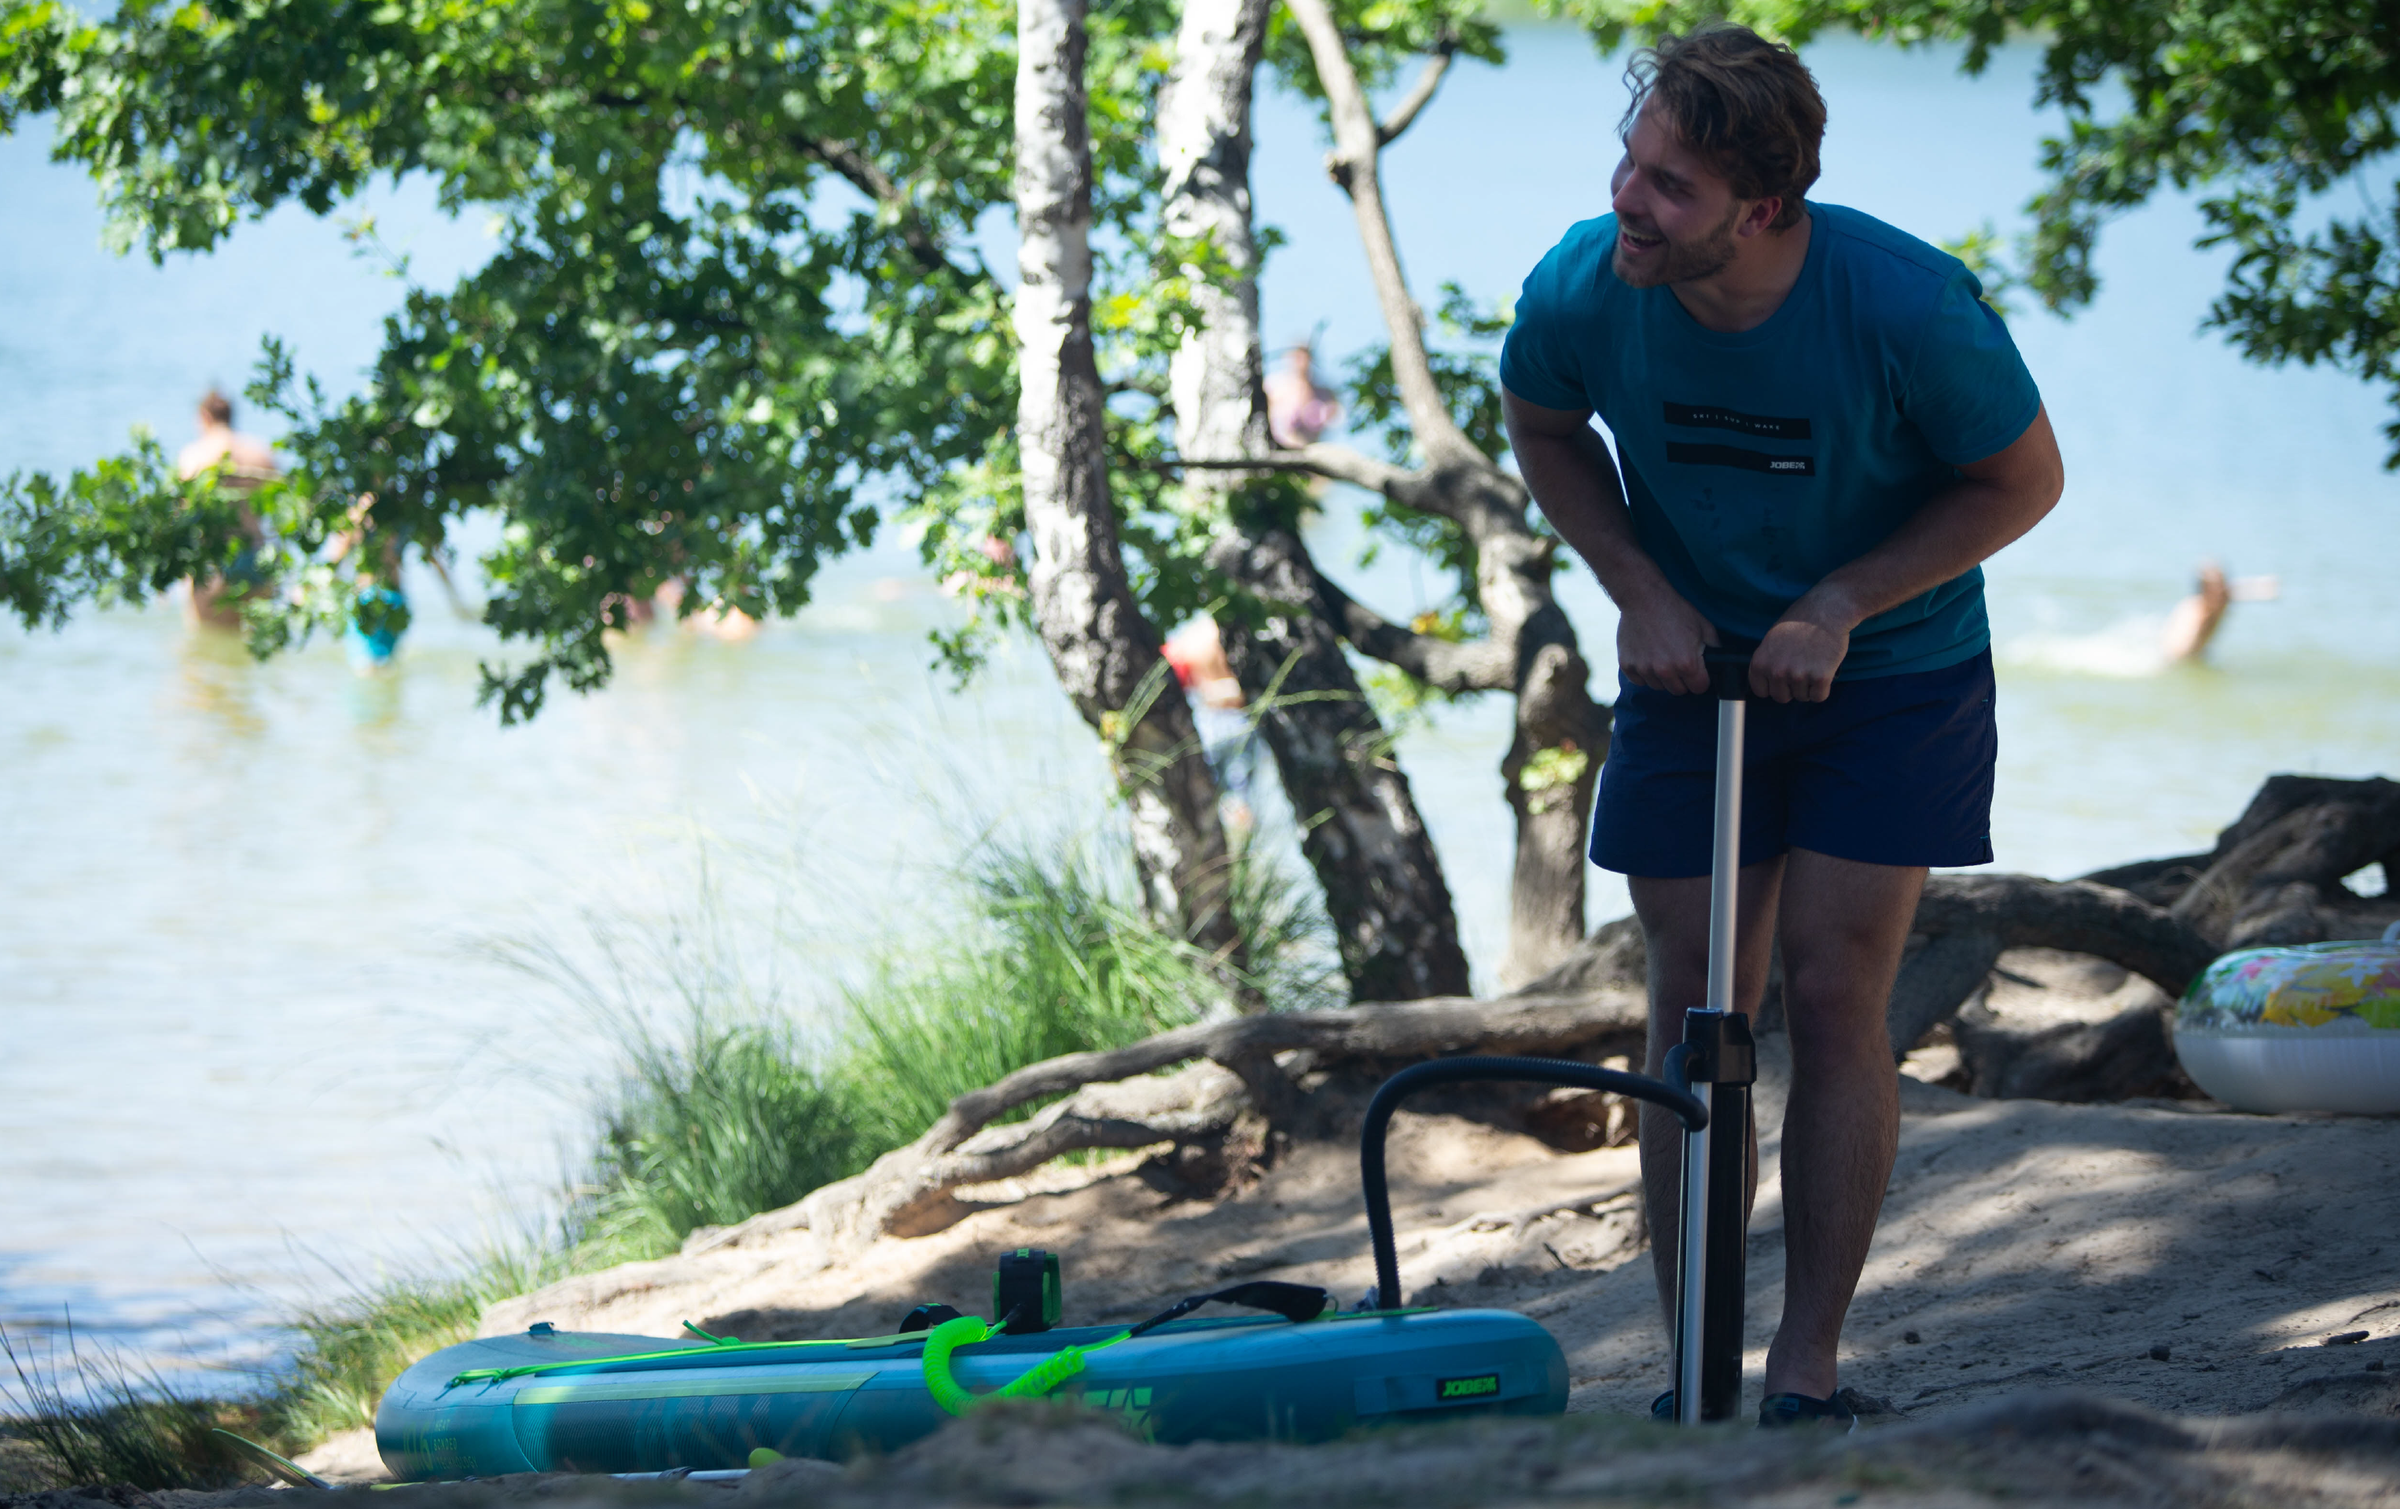
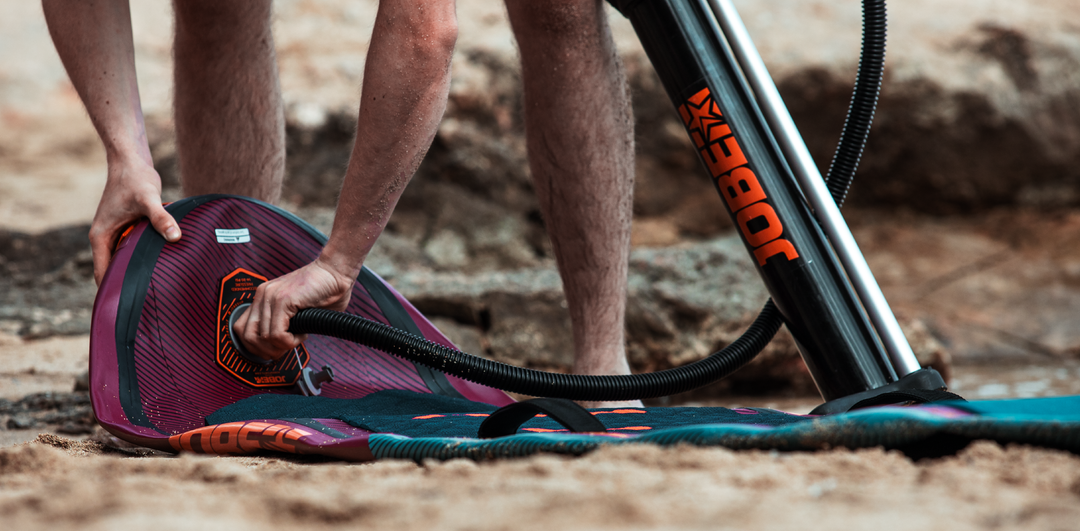
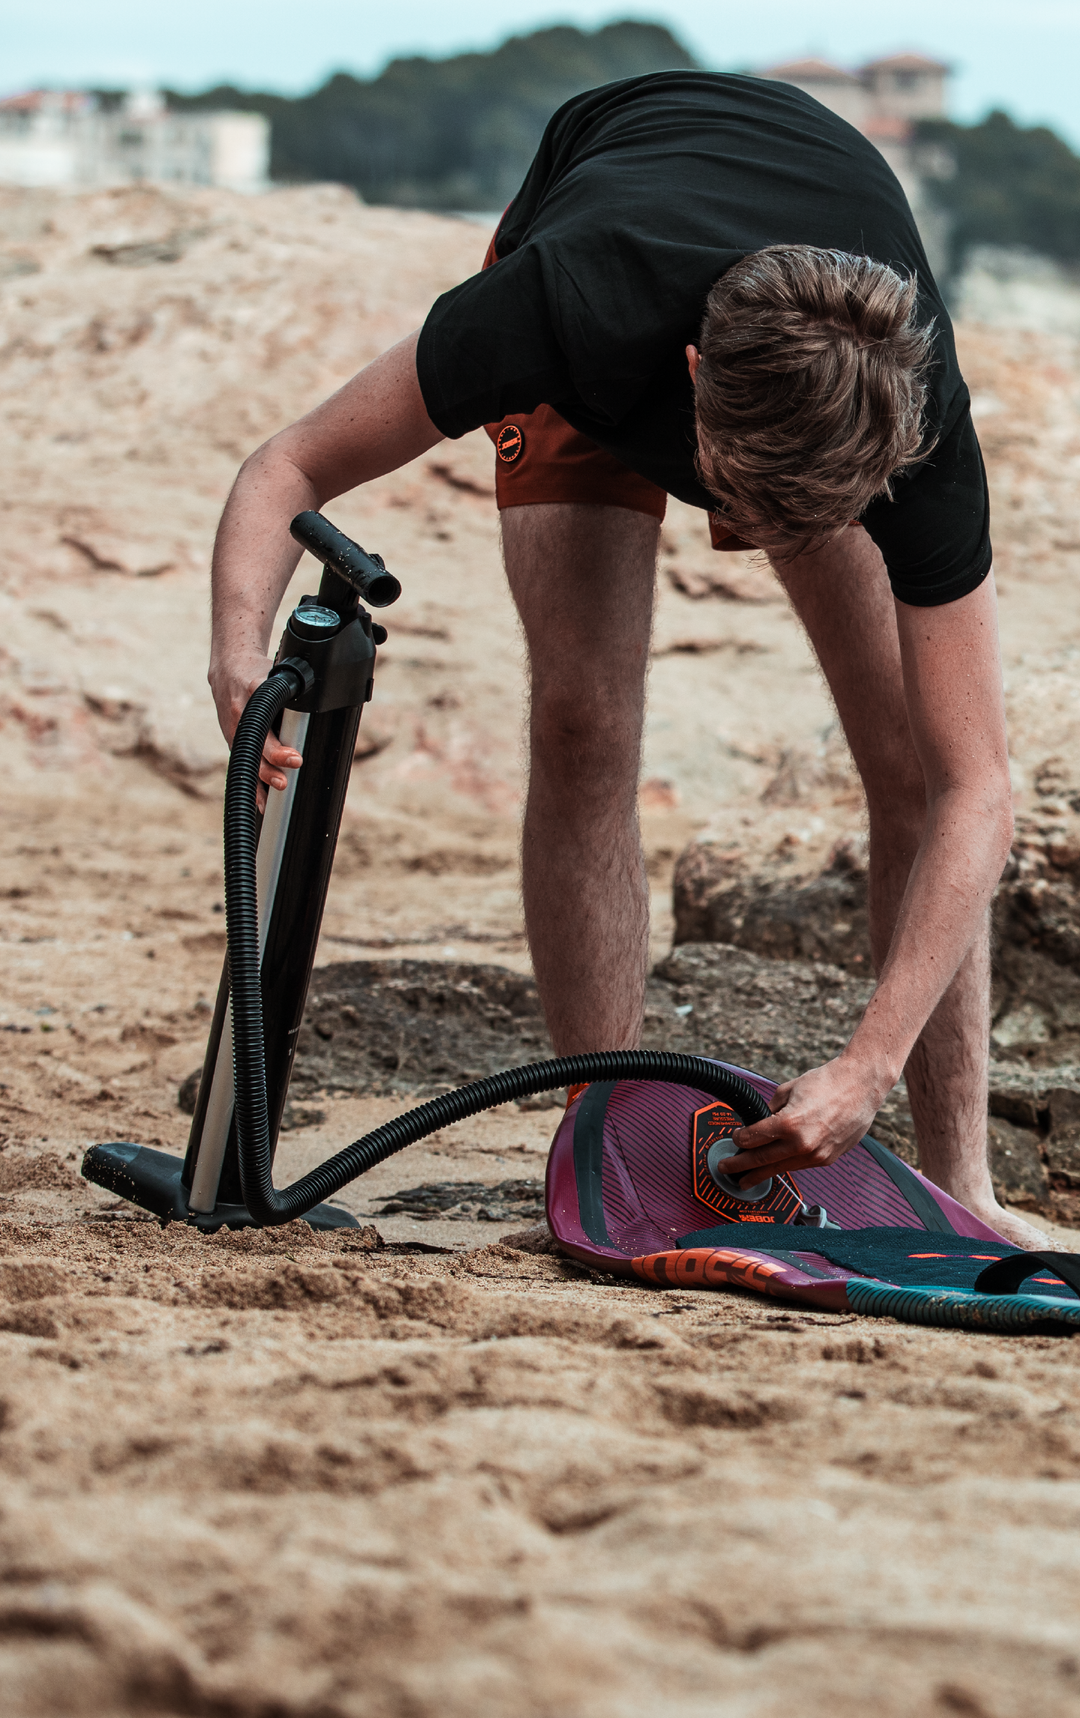
Aseta lauta kansi ylöspäin tasaiselle alustalle ja avaa venttiilinhattu. Paina venttiilitappi pohjaan, jolloin venttiili aukeaa ja kierrä hieman, jolloin venttiili lukittuu auki-asentoon.
VINKKI: ilman vapautuessa paineella ääni on varsin kova, joten tuki toisella kädellä korvasi ja laita toinen korvasi olkapäätä vasten ja avaa vasta sitten venttiili vapaalla kädelläsi.
Useimmiten venttiili sijaitsee laudan perässä, joten aloita rullaaminen keulasta päin. Satuta viimeinen taitos, niin että eväboksi asettuu kivasti, jolloin saat pienemmän rullan.
Rullaaminen on helpompaa laudoissa, joissa on keskeltä taittuva eväboksi. Kun rulla on valmis ja kaikki ilma on poistunut laudasta, vapauta venttiilitappi, jolloin venttiili on valmiiksi oikeassa eli kiinni-asennossa seuraavaa pumppauskertaa varten. Laita venttiilinhattu kiinni. Kiristä rulla laudan mukana tulleella erillisellä kiristyshihnalla. Laita lauta ja kaikki tarvikkeet reppuun.
Huom! Lautojen mukana tullutta venttiiliavainta (usein harmaa, kiintolenkin näköinen muovinen työkalu) tarvitsee vain silloin, jos venttiili on vioittunut ja se joudutaan uusimaan tai silloin jos venttiili on jäänyt tehtaalla kiristämättä. Venttiiliavainta ei siis tarvita laudan tyhjentämiseen!
Lue lisää SUP-laudan säilytyksestä ja huollosta toisessa artikkelissamme.
Ohjeet ovat vapaasti käytettävissä verkkojulkaisuissa, jos viittaatte linkillä lähteeseen www.vesiurheilu.fi Lisätietoja info@vesiurheilu.fi